singer sewing machine user guide
The Singer sewing machine is a versatile and durable tool for sewing enthusiasts, offering ease of use and high-quality stitching. Perfect for various projects, it ensures reliability and creativity in sewing.
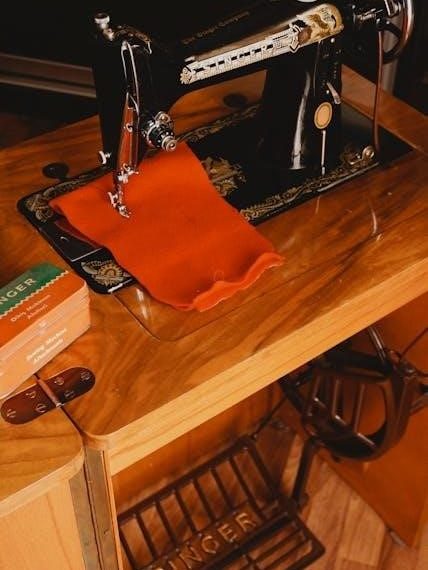
1.1 Overview of Singer Sewing Machines
Singer sewing machines are renowned for their durability and versatility, catering to both beginners and experienced sewists. With a range of models, from basic mechanical to advanced computerized machines, Singer offers tools for various sewing needs. Known for their robust construction, these machines are ideal for medium-weight projects, providing consistent stitching and reliability. Whether for home use or small-scale production, Singer sewing machines are a popular choice, supported by comprehensive manuals and tutorials for seamless operation and maintenance.
1.2 Importance of a User Guide
A user guide is essential for maximizing the potential of your Singer sewing machine. It provides clear instructions for setup, operation, and maintenance, ensuring safety and optimal performance. Beginners can learn basic functions, while experienced users can explore advanced features. The guide helps troubleshoot common issues, saving time and frustration. By understanding machine parts and proper techniques, users can achieve professional results. Additionally, it serves as a reference for accessories and resources, making it an indispensable tool for anyone aiming to master their Singer sewing machine effectively.
Unboxing and Initial Setup
Unboxing your Singer sewing machine reveals a compact, durable design with essential accessories. Initial setup involves assembling parts and ensuring all components are in working order for operation.
2.1 What’s Included in the Box
Your Singer sewing machine comes with a variety of essential accessories to get you started. The box typically includes the machine itself, a set of presser feet for different stitching needs, bobbins, sewing needles, and a dust cover to protect the machine when not in use. Additionally, you’ll find a user manual that provides detailed instructions for setup and operation. Some models may also include a power cord, sewing table, or extension table for added convenience. These accessories ensure you have everything needed to begin your sewing projects efficiently.
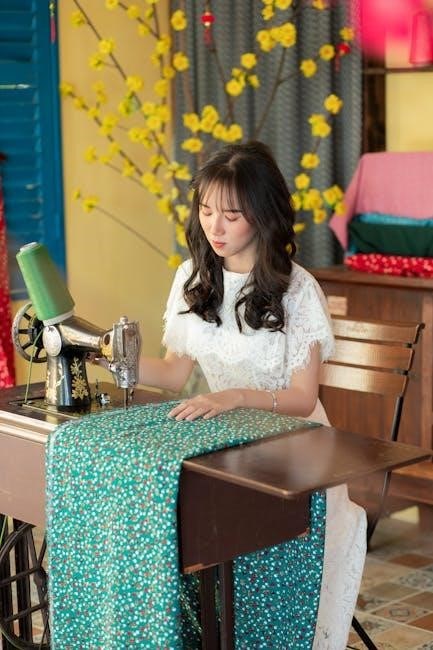
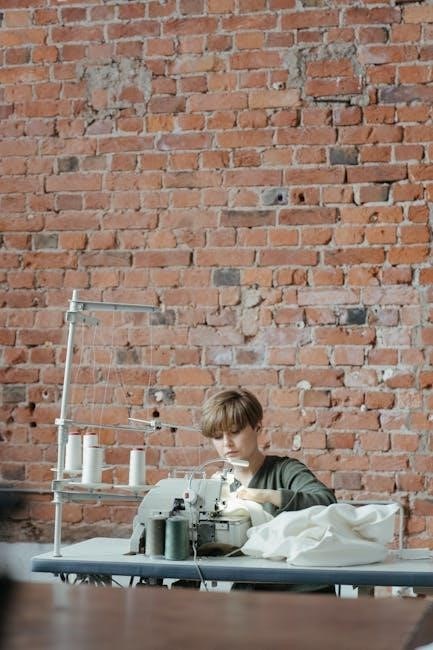
2.2 Setting Up Your Workspace
To ensure a smooth sewing experience, set up your workspace thoughtfully. Place the Singer sewing machine on a stable, flat surface, such as a sewing table or desk. Position it away from direct sunlight to avoid glare and near a power outlet for easy access. Keep the area well-lit with a desk lamp to improve visibility. Organize your sewing tools, fabrics, and threads within reach to save time. Maintain a clean, clutter-free space to prevent accidents and ensure efficient workflow. Proper ergonomics, such as a comfortable chair and correct posture, will help you sew for extended periods without strain.
Safety Precautions
Always prioritize safety when using your Singer sewing machine. Keep loose clothing and long hair tied back, avoid dangling jewelry, and ensure the machine is placed on a stable surface. Keep children and pets away while sewing. Never touch sharp parts or hot components. Unplug the machine when not in use or during maintenance. Follow all guidelines to prevent accidents and ensure safe, efficient sewing.
- Use the machine on a flat, stable surface.
- Avoid overloading the machine with heavy fabrics.
- Keep fingers away from moving parts.
3.1 General Safety Guidelines
Ensure a safe sewing experience by following essential guidelines. Place the machine on a stable, flat surface and keep it away from water. Tie back loose clothing and long hair, and remove jewelry that could get caught. Supervise children when the machine is in use. Unplug the machine when not in operation or during maintenance. Avoid touching sharp components like needles or cutters. Regularly inspect the machine for damage and ensure all parts are securely fastened. Proper safety practices prevent accidents and prolong machine lifespan.
- Keep the machine away from flammable materials.
- Use the correct needle for the fabric type.
3.2 Electrical Safety Tips
Always prioritize electrical safety to prevent hazards. Use the Singer sewing machine only with the power source specified in the manual. Avoid overloading circuits or using damaged cords. Keep the machine and cord away from water to prevent electrical shock. Unplug the machine when not in use or during maintenance. Never attempt repairs while the machine is plugged in. Ensure all electrical components are in good condition. If unsure, consult a professional. Proper electrical safety ensures safe and reliable operation of your Singer sewing machine.
- Use a grounded power outlet for added protection.
Threading the Machine
Threading your Singer sewing machine correctly ensures smooth stitching. Follow the manual’s guide for proper upper thread and bobbin placement. Proper tension is key.
- Use the built-in thread guide for accuracy;
4.1 Threading the Upper Part
Threading the upper part of your Singer sewing machine is essential for proper function. Start by locating the spool pin at the top of the machine. Place the thread spool on the spool pin and secure it with the spool cap or clamp to prevent it from moving during use. Next, pull the thread through the tension disc, which is usually located near the top or front of the machine. Guide the thread through any additional tension springs or discs along the path to the needle. Loop the thread around the take-up lever and then bring it down to the needle bar, ensuring it is seated properly in the needle clamp or hook. Finally, insert the needle into the machine if it is not already in place and gently pull the thread to ensure it is correctly threaded. Always refer to your machine’s specific user guide for detailed instructions, as the threading path may vary slightly between models. Proper threading ensures smooth stitching and prevents issues like thread breakage or uneven tension. By following these steps carefully, you can achieve accurate and professional results with your Singer sewing machine. Remember to test your threading by sewing a few stitches on a scrap piece of fabric to ensure everything is working correctly.
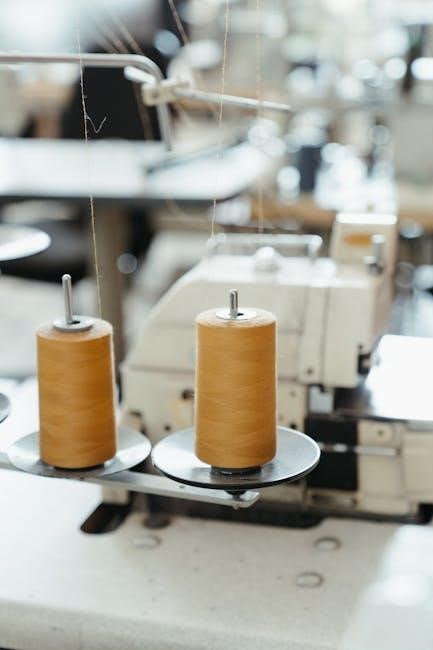
4.2 Winding and Inserting the Bobbin
Winding and inserting the bobbin is a crucial step for proper stitching. Start by placing the bobbin on the winder and threading the end through the bobbin’s hole. Wind the thread evenly, filling the bobbin without overfilling. Once full, cut the excess thread and remove the bobbin from the winder. Insert the bobbin into the machine’s bobbin case, ensuring it fits securely. Pull the thread gently to set the tension and trim any excess. Properly wound and inserted bobbins ensure smooth stitching and prevent tangles or thread breakage during sewing. Always follow the machine’s specific guidelines for bobbin preparation to achieve the best results.
4.3 Common Threading Issues and Solutions
Common threading issues include thread tangling, improper tension, or the thread not catching. If the thread is tangled, gently untangle it or cut and rethread. For uneven tension, check the tension discs and ensure the thread is seated correctly. If the bobbin thread isn’t catching, ensure the machine is properly threaded and the bobbin is correctly inserted. Regularly cleaning lint and debris can prevent thread breakage. Always refer to the user manual or online guides for specific troubleshooting steps tailored to your Singer model. Proper threading techniques and maintenance will minimize issues and ensure smooth sewing operations.

Basic Sewing Operations
Master essential sewing skills like starting your first stitch, adjusting settings, and sewing straight lines. Practice on scrap fabric to ensure consistent results and even stitching.
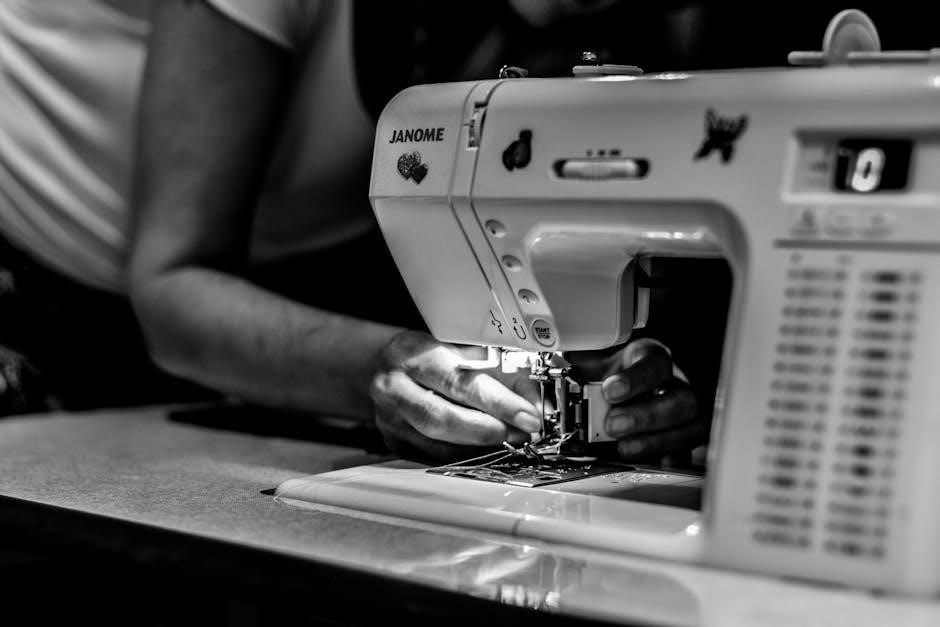
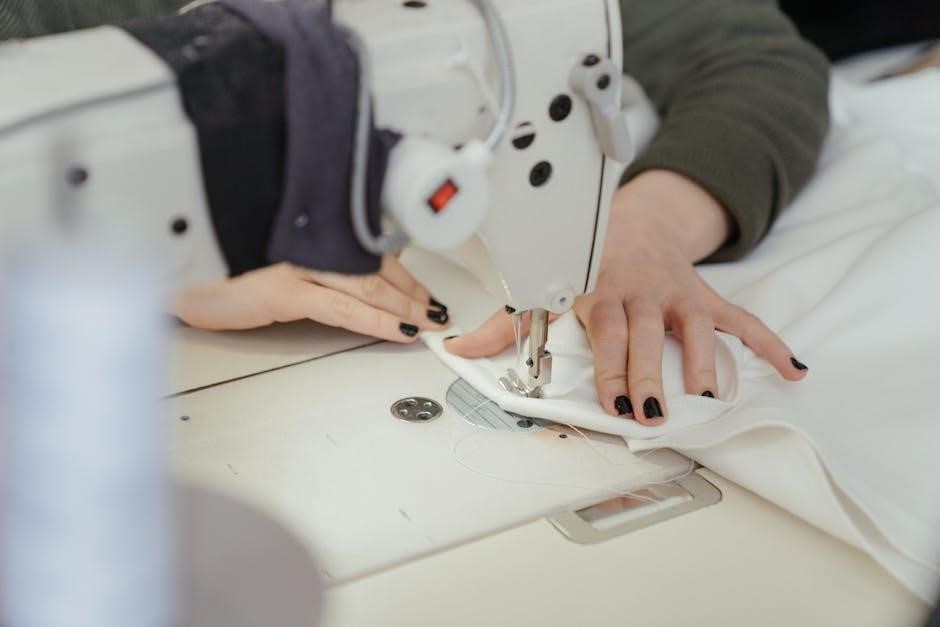
5.1 Starting Your First Stitch
To begin sewing, ensure the machine is plugged in and set to a straight stitch. Place your fabric under the presser foot, aligning the edge with the needle. Gently lower the presser foot and start sewing at a steady pace. Use the handwheel to guide the fabric if needed. Backstitch at the beginning and end for secure seams. Practice on scrap fabric first to get comfortable with the machine’s rhythm and stitch formation.
5.2 Adjusting Stitch Length and Width
Adjust the stitch length and width using the designated dials on your Singer sewing machine. For delicate fabrics, choose shorter stitch lengths, while thicker materials may require longer stitches. The stitch width dial allows for narrower or wider stitches, ideal for different seam types. Always test adjustments on scrap fabric before sewing your final project to ensure the desired result. Proper settings enhance stitch quality and fabric compatibility, making your sewing projects more professional and durable.
Understanding Machine Parts
The Singer sewing machine consists of key components like the bobbin, presser foot, and stitch regulators. Familiarizing yourself with these parts enhances sewing efficiency and maintenance.
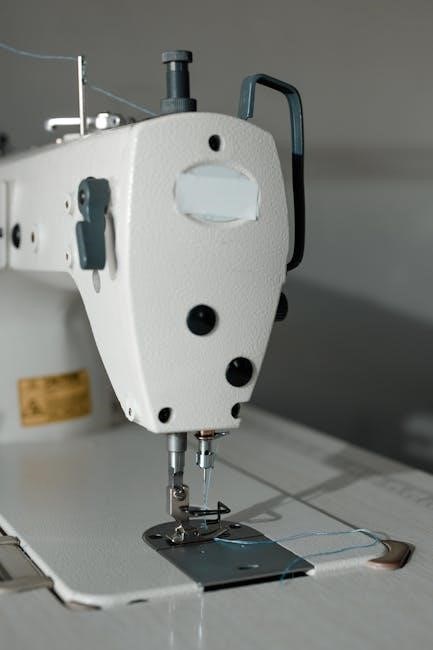
6.1 Key Components of the Singer Sewing Machine
The Singer sewing machine features several essential parts that ensure smooth operation. The bobbin holds the lower thread, while the presser foot keeps fabric in place. The stitch length regulator adjusts stitch size, and the tension dials control thread tightness. The feed dogs move fabric forward, and the stitch selector allows pattern choices. Understanding these components is vital for effective sewing and maintenance, ensuring optimal performance and longevity of the machine;
6.2 Functions of Each Part
The Singer sewing machine’s components work together to ensure efficient sewing. The bobbin supplies thread for the underside of the fabric, while the presser foot holds material firmly in place. The stitch length regulator adjusts the distance between stitches, and the tension dials balance thread tightness. The feed dogs grip and move fabric evenly, and the stitch selector allows users to choose from various stitch patterns. Each part plays a vital role in achieving precise and professional-looking results, making understanding their functions essential for optimal performance.

Maintenance and Cleaning
Regular cleaning removes dust and debris, ensuring smooth operation. Lubricate moving parts periodically and replace worn components to maintain performance and extend machine lifespan effectively.
7.1 Regular Cleaning Routine
Regular cleaning is essential to maintain your Singer sewing machine’s performance. Use a soft-bristled brush or compressed air to remove lint and dust from the bobbin area, feed dogs, and stitch plate. Gently wipe the exterior with a damp cloth, avoiding any electrical components. Clean the machine after each project to prevent fabric residue buildup. Regularly check and clean the tension discs and take-up lever to ensure smooth thread flow. A well-maintained machine sews more efficiently and lasts longer. Make cleaning a habit to keep your Singer in optimal working condition.
7.2 Oil and Lubrication Tips
Proper lubrication is crucial for the smooth operation of your Singer sewing machine. Use high-quality sewing machine oil, preferably Singer-approved, to lubricate moving parts. Apply a few drops to the bobbin area, feed dogs, and any visible pivots. Avoid over-lubrication, as excess oil can attract lint and dust. Refer to your machine’s manual for specific lubrication points. Regular oil changes prevent friction and wear, ensuring optimal performance. For best results, lubricate after cleaning and before storing the machine for extended periods. This practice helps maintain the machine’s longevity and stitching consistency.
7.3 Replacing Parts and Accessories
Regularly inspect and replace worn or damaged parts to ensure optimal performance. Common replacements include needles, bobbin cases, and presser feet. Always use genuine Singer parts to maintain quality and compatibility. Turn off and unplug the machine before replacing any components. Consult your manual for specific instructions, as procedures vary by model. If unsure, contact Singer customer support or visit an authorized service center. Keep spare parts organized and store them in a dry, clean environment. Replacing parts promptly prevents further damage and ensures consistent stitching quality. For genuine accessories, visit Singer’s official website or authorized retailers.
Troubleshooting Common Issues
Troubleshooting helps resolve issues like uneven stitches, thread breakage, or machine jamming. Always refer to your Singer sewing machine manual for model-specific solutions.
Common problems include misaligned needles, incorrect tension, or improper threading. Regular maintenance and correct usage often prevent these issues. For persistent problems, contact Singer support or visit an authorized service center. Proper troubleshooting ensures smooth operation and extends the machine’s lifespan. Keep your machine clean and well-maintained to avoid frequent repairs. Genuine Singer parts and accessories guarantee reliability and performance. Addressing issues early prevents further damage.
8.1 Machine Not Turning On
If your Singer sewing machine won’t turn on, first ensure it’s properly plugged into a working power outlet.
Check the power cord for damage or frays and verify that the outlet is functioning.
Reset the circuit breaker or check the fuse box if the issue persists.
Ensure the on/off switch is functioning correctly.
If the machine still doesn’t power on, contact Singer customer support or visit an authorized service center for professional assistance.
Never attempt internal repairs yourself, as this could void the warranty or cause further damage.
Always follow safety guidelines when troubleshooting electrical issues.
8.2 Thread Breakage and Tension Problems
Thread breakage and tension issues are common sewing challenges.
Incorrect threading, low-quality thread, or improper tension settings often cause these problems.
To resolve, rethread the machine following the manual’s guide, ensuring the thread lies smoothly.
Use high-quality thread suitable for your fabric type.
Adjust the tension discs and bobbin case carefully.
Check for tangled thread and trim excess.
For persistent issues, consult the Singer sewing machine manual for specific tension settings.
Always test on scrap fabric before starting your project.
Using Accessories and Attachments
Explore Singer sewing machine accessories like presser feet, zipper feet, and quilting attachments.
These enhance stitching accuracy and versatility for various fabrics and projects.
Always refer to the manual for proper attachment usage.
9.1 Overview of Singer Sewing Machine Accessories
Singer sewing machines offer a variety of accessories to enhance your sewing experience.
These include presser feet, zipper feet, buttonhole attachments, and quilting extensions.
Each accessory is designed for specific tasks, improving accuracy and efficiency.
Optional attachments like embroidery hoops and walking feet expand creative possibilities.
Always ensure compatibility with your machine model for optimal performance.
Accessories can be purchased separately or in bundles, depending on your needs.
Consult the Singer accessory guide for details on available options and their uses.
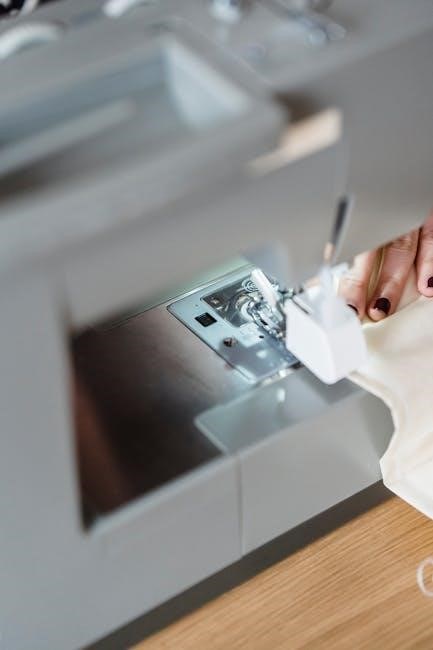
9.2 How to Use Presser Feet
Presser feet are essential for controlling fabric movement.
Start by selecting the appropriate foot for your project.
Attach the presser foot by aligning the shank with the machine’s holder.
Gently lower it until it clicks.
For use, ensure the foot is securely locked.
Guide fabric smoothly under the foot, keeping it flat.
Adjust the pressure if needed for thick materials.
Detach by lifting the lever and pulling straight off.
Always choose the right foot for the task to ensure accurate stitching.
Refer to your Singer manual for model-specific instructions.
Tips for Better Sewing
Mastering your Singer sewing machine involves choosing the right fabric, managing thread tension, and maintaining proper stitch alignment. Regular machine cleaning and using appropriate needles ensure optimal performance. Experimenting with different stitches and presser feet expands your sewing capabilities. Keep your workspace organized to enhance efficiency.
10.1 Choosing the Right Fabric
Selecting the appropriate fabric is crucial for successful sewing projects. Cotton and polyester blends are ideal for beginners, while heavier fabrics like denim or canvas suit durable designs. Always consider the fabric’s thread count and weight, as these affect stitch quality and machine performance. Pre-treating fabrics by washing and drying ensures proper fit and prevents shrinkage. For delicate materials, use a stabilizing layer to maintain stability during sewing. The Singer sewing machine works well with various fabrics, but matching the right needle and thread is essential for optimal results.
10.2 Managing Thread and Bobbin
Proper thread and bobbin management ensures smooth sewing. Use high-quality threads suited to your fabric type to prevent breakage. Wind bobbins evenly, avoiding overfilling, and ensure they’re securely inserted. Keep threads clean and dry, storing them away from sunlight to maintain color and strength. Use spool caps to prevent unraveling. Regularly inspect and replace damaged threads or bobbins. Maintain consistent tension by adjusting the bobbin case as needed. Proper thread management enhances stitch quality and reduces machine wear, ensuring reliable performance for all sewing projects.
Resources and Support
The Singer sewing machine offers extensive resources, including official manuals, online tutorials, and customer support. Visit Singer’s website for guides, troubleshooting tips, and community forums.
11.1 Official Singer Sewing Machine Manuals
The official Singer sewing machine manuals are comprehensive guides tailored to specific models. They include detailed instructions, diagrams, and troubleshooting tips. Available online or with purchase, these manuals cover machine setup, maintenance, and operation; They also provide step-by-step guides for advanced features and accessories. For optimal performance, refer to the manual corresponding to your machine model. Singer’s official website offers downloadable PDF versions, ensuring easy access to essential information. Always use genuine Singer manuals for accurate and reliable guidance to maintain your machine’s longevity and functionality.
11.2 Online Tutorials and Guides
Online tutorials and guides provide practical, step-by-step instructions for mastering your Singer sewing machine. Available on platforms like YouTube, Singer’s official website, and sewing blogs, these resources cover a wide range of topics, from basic operations to advanced techniques. Many tutorials are model-specific, offering tailored advice for your machine. They often include video demonstrations, making complex tasks easier to understand. Additionally, sewing communities and forums share tips, troubleshooting solutions, and creative project ideas. These online resources complement the official manual, offering visual and interactive learning experiences to enhance your sewing skills and confidence.
Quick Start Guide
Unbox, assemble, and power on your Singer sewing machine. Thread the machine, wind the bobbin, and insert it. Select a stitch, place fabric, and sew your first project.
12.1 Step-by-Step Guide to Your First Project
Start by threading your Singer sewing machine and winding the bobbin. Place a piece of scrap fabric under the needle. Select a straight stitch and set the stitch length to 3-4. Gently press the pedal to begin sewing a simple straight line. Guide the fabric smoothly, keeping consistent tension. Backstitch at the start and end for secure seams. Trim excess thread and inspect your work. This quick exercise helps familiarize you with the machine’s operation, preparing you for more complex projects.
Mastering your Singer sewing machine opens doors to endless creative possibilities. By following this guide, you’ve gained essential knowledge to operate, maintain, and troubleshoot your machine effectively. Remember, practice enhances skill, so keep experimenting with different fabrics and techniques. Regular maintenance ensures longevity and optimal performance. Whether crafting clothes, home decor, or repairs, your Singer sewing machine is now a trusted companion. Happy sewing, and enjoy the satisfaction of creating something truly unique!