
temprite thermostat manual
Temprite Thermostat Manual: A Comprehensive Guide
This manual provides detailed instructions for installation‚ operation‚ and troubleshooting of Temprite thermostats‚ ensuring optimal performance and user satisfaction.
Temprite thermostats are renowned for their precision temperature control and reliability within heating and cooling systems. Designed for both residential and commercial applications‚ these thermostats offer a balance of functionality and user-friendliness. Understanding your Temprite thermostat is crucial for maximizing energy efficiency and maintaining a comfortable environment. This manual serves as a comprehensive resource‚ guiding you through every aspect of your thermostat – from initial setup and daily operation to advanced features and troubleshooting.
Whether you’re a homeowner or a professional installer‚ this guide will equip you with the knowledge to effectively manage your climate control system. We will explore the various models‚ key features‚ and provide clear‚ step-by-step instructions to ensure seamless integration and optimal performance. Proper use will contribute to long-term system health and reduced energy costs.
Understanding Temprite Thermostat Models
Temprite offers a diverse range of thermostat models‚ each tailored to specific system configurations and user needs. Basic models provide essential heating and cooling control‚ while more advanced versions incorporate programmable scheduling‚ remote access‚ and energy-saving features. Identifying your specific model is the first step towards understanding its capabilities.
Key distinctions between models include compatibility with different HVAC systems (e.g.‚ conventional‚ heat pump‚ multi-stage)‚ display types (digital‚ analog)‚ and connectivity options (Wi-Fi‚ Bluetooth). Some models feature hysteresis control‚ adjusting temperature cycles for efficiency. Refer to the model number located on the thermostat itself or its original packaging to determine its exact specifications and corresponding features detailed within this manual. Understanding these differences ensures correct installation and optimal operation.
Key Features and Benefits
Temprite thermostats are engineered to deliver precise temperature control‚ enhanced comfort‚ and significant energy savings. Core features include accurate temperature sensing‚ intuitive user interfaces‚ and reliable operation. Programmable scheduling allows customized temperature settings based on daily routines‚ reducing energy consumption when spaces are unoccupied.
Advanced models boast remote control capabilities via smartphone apps‚ providing convenient access and adjustments from anywhere. Hysteresis functionality optimizes system performance by minimizing short-cycling‚ extending equipment lifespan. Benefits extend to improved indoor air quality and reduced utility bills. Temprite’s commitment to quality ensures durable construction and long-term reliability‚ offering peace of mind and a comfortable living environment. These features combine to create a superior thermostat experience.
Installation and Setup
Proper installation is crucial for optimal performance; carefully follow wiring diagrams and mounting instructions to ensure a secure and functional setup.
Wiring Diagrams for Common Systems
Understanding the correct wiring configuration is paramount for safe and effective thermostat operation. This section details diagrams for frequently encountered heating and cooling systems. Typical systems include conventional forced air‚ heat pump‚ and radiant heat. Each diagram clearly illustrates the connection points for power (R‚ C)‚ heating (W‚ W2)‚ cooling (Y‚ Y2)‚ and fan (G) wires.
Always disconnect power at the breaker before commencing any wiring work. Incorrect wiring can damage the thermostat or the connected HVAC equipment. Refer to the specific wiring diagram corresponding to your system type. If unsure‚ consult a qualified HVAC technician. Diagrams will showcase both standard and high-efficiency system configurations‚ noting any necessary jumper wires or specific terminal assignments. Pay close attention to color coding and terminal labels for accurate connections.
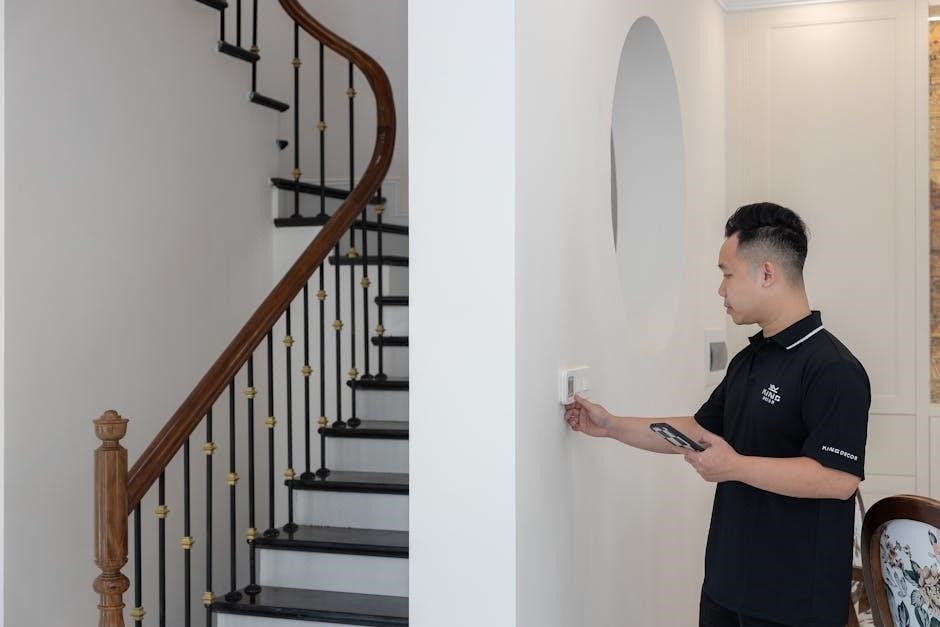
Mounting the Thermostat
Proper mounting ensures accurate temperature sensing and stable operation of your Temprite thermostat. Begin by carefully removing the existing thermostat baseplate‚ noting the wire connections. Use the provided mounting screws to securely attach the new Temprite baseplate to the wall‚ ensuring it is level.
Avoid mounting the thermostat in direct sunlight‚ near drafts‚ or close to heat-generating appliances. These factors can compromise temperature readings. Route the thermostat wires neatly through the opening in the baseplate and connect them to the appropriate terminals‚ referencing the wiring diagram. Gently push any excess wire back into the wall. Finally‚ snap the thermostat body onto the baseplate until it clicks securely into place.
Initial Power-Up and Configuration
Upon initial power-up‚ your Temprite thermostat will guide you through a basic configuration process. The display should illuminate‚ and you may be prompted to select your system type – furnace‚ heat pump‚ or electric baseboard. Carefully choose the option that corresponds to your home’s heating and cooling system.
Next‚ you’ll likely be asked to set the current date and time. Accurate timekeeping is crucial for programmable scheduling features. Some models may also request your zip code to access local weather information. Finally‚ verify that the thermostat is correctly detecting the ambient temperature. If adjustments are needed‚ consult the troubleshooting section of this manual.
Operating Your Temprite Thermostat
Effectively manage your home’s climate with intuitive controls‚ easily adjusting settings for comfort and energy efficiency through simple temperature adjustments and mode selections.
Setting the Temperature
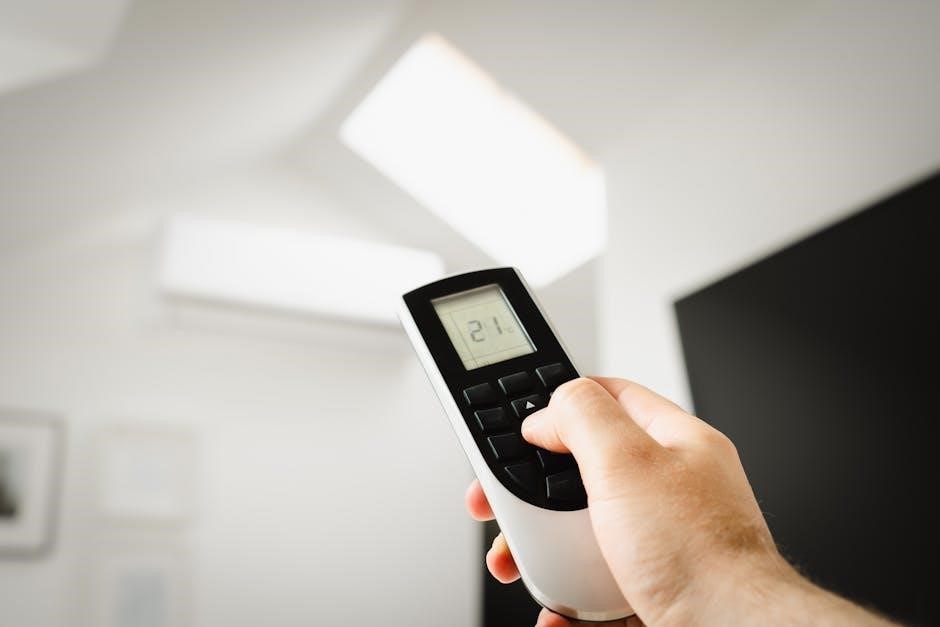
Adjusting the desired temperature on your Temprite thermostat is a straightforward process‚ designed for ease of use. Most models feature clearly marked up and down buttons‚ or a rotating dial‚ allowing precise temperature selection.
The display will show the currently set temperature‚ and as you make adjustments‚ the thermostat will respond accordingly. Remember to allow sufficient time for the system to reach the new setpoint. Consider the hysteresis setting (explained later) as it influences when the system actively heats or cools.
For optimal comfort and energy savings‚ avoid drastic temperature changes. Small‚ incremental adjustments are generally more effective. Regularly check the thermostat’s display to ensure it accurately reflects your desired temperature and that the system is responding as expected.
Understanding Heat and Cool Modes
Temprite thermostats offer distinct Heat and Cool modes to manage your home’s climate effectively. In Heat mode‚ the thermostat activates the heating system when the room temperature falls below the setpoint‚ providing warmth. Conversely‚ Cool mode initiates the cooling system when the temperature exceeds the setpoint‚ delivering refreshing air.
Many models include an “Auto” setting‚ which intelligently switches between heating and cooling based on the indoor temperature and your desired setpoints. Ensure the mode selector is positioned correctly for your current needs.
Understanding these modes is crucial for efficient operation and comfort. Incorrect mode selection can lead to wasted energy and an uncomfortable environment. Regularly verify the selected mode aligns with the season and your preferences.
Fan Control Options
Temprite thermostats provide several fan control options to optimize air circulation and comfort. The “Auto” setting operates the fan only during heating or cooling cycles‚ conserving energy. Selecting “On” keeps the fan running continuously‚ promoting consistent temperature distribution and improved air filtration.
Some advanced models offer a “Circulate” mode‚ which periodically runs the fan for a set duration‚ even when heating or cooling isn’t active‚ to maintain air movement. Experiment with these settings to find the best balance between comfort and energy efficiency.
Proper fan control can significantly impact indoor air quality and temperature consistency. Consider your home’s layout and your personal preferences when choosing a fan mode.

Advanced Features
Explore programmable scheduling‚ hysteresis settings for precise temperature control‚ and potential remote access capabilities for enhanced convenience and energy management.
Programmable Scheduling
Temprite thermostats often feature programmable scheduling‚ allowing you to create customized heating and cooling plans to match your lifestyle and optimize energy savings. This functionality enables you to set different temperatures for various times of the day and days of the week. For example‚ you can program lower temperatures while you’re away at work or asleep‚ and raise them before you return home or wake up.
Accessing the scheduling menu typically involves navigating through the thermostat’s interface using its buttons or touchscreen. You’ll usually be able to define multiple periods per day‚ each with a specific start time and desired temperature. Some models offer pre-programmed schedules‚ while others allow for fully customized settings. Carefully planning your schedule can significantly reduce energy consumption and lower your utility bills‚ providing both comfort and cost savings.
Hysteresis Explained (Temperature Cycle Entry & Standby)
Hysteresis‚ in Temprite thermostats‚ refers to the temperature difference required to initiate heating or cooling and when the system returns to a standby state. It prevents rapid cycling of the system‚ extending its lifespan and improving efficiency. A fixed 2-stage hysteresis is common‚ meaning the thermostat must reach a temperature above the setpoint to turn off heating‚ or below to turn off cooling.
This difference avoids constant on-off switching around the desired temperature. For instance‚ if your setpoint is 70°F with a 2°F hysteresis‚ the heat won’t turn off precisely at 70°F; it will continue until 72°F is reached. Similarly‚ it won’t reactivate until the temperature drops to 68°F. Understanding hysteresis is crucial for interpreting thermostat behavior and optimizing comfort levels.
Remote Control Capabilities (If Applicable)
Certain Temprite thermostat models offer remote control functionality via a dedicated mobile application or web interface. This allows users to adjust temperature settings‚ view current conditions‚ and manage schedules from anywhere with an internet connection. Initial setup typically involves connecting the thermostat to your home’s Wi-Fi network‚ following the instructions within the app.
Remote access provides convenience and energy savings‚ enabling adjustments even when away from home. Features may include geofencing‚ which automatically adjusts the temperature based on your location‚ and integration with voice assistants for hands-free control. Ensure your thermostat model specifically supports remote capabilities before attempting setup; consult the product specifications for compatibility details.

Troubleshooting Common Issues
This section details solutions for frequent problems‚ like unresponsive systems‚ inaccurate readings‚ or power failures‚ ensuring your Temprite thermostat functions correctly.
Thermostat Not Powering On
If your Temprite thermostat fails to power on‚ begin by verifying the power source. Check the circuit breaker or fuse box to ensure the thermostat’s circuit hasn’t tripped or blown.
Next‚ inspect the thermostat wiring‚ confirming all connections are secure and correctly placed according to the wiring diagram. A loose wire can interrupt power. If your model utilizes batteries‚ replace them with fresh ones‚ ensuring correct polarity.
For hardwired thermostats‚ use a multimeter to confirm voltage is reaching the unit. If voltage is present but the thermostat remains unresponsive‚ the unit itself may be faulty and require professional repair or replacement. Always disconnect power before inspecting wiring.
Incorrect Temperature Readings
If your Temprite thermostat displays inaccurate temperature readings‚ several factors could be at play. First‚ ensure the thermostat isn’t directly exposed to sunlight‚ drafts‚ or heat-generating appliances‚ as these can skew the sensor’s readings.
Check for obstructions blocking airflow around the thermostat. Dust accumulation inside the unit can also cause inaccuracies; gently clean the thermostat’s exterior with a soft brush.
If the problem persists‚ calibrate the thermostat according to the manufacturer’s instructions. Some models allow for temperature offset adjustments. If calibration doesn’t resolve the issue‚ the temperature sensor may be defective‚ requiring professional service or thermostat replacement.

System Not Responding to Thermostat
When your heating or cooling system fails to respond to the Temprite thermostat‚ begin by verifying the thermostat has sufficient power – check batteries if applicable‚ or ensure the circuit breaker hasn’t tripped.
Inspect the wiring connections at both the thermostat and the HVAC unit‚ ensuring all wires are securely fastened and haven’t corroded. A loose connection is a common culprit. Confirm the system’s power switch is turned on at the furnace or air handler.
If these checks don’t resolve the issue‚ the problem may lie within the HVAC system itself‚ requiring a qualified technician’s diagnosis.

Maintenance and Care
Regular cleaning and system checks will prolong your Temprite thermostat’s lifespan‚ ensuring accurate temperature control and optimal heating/cooling efficiency.
Cleaning the Thermostat
To maintain the accuracy and longevity of your Temprite thermostat‚ regular cleaning is essential. Before cleaning‚ always ensure the system is switched off at the breaker to prevent electrical shock.
Use a soft‚ dry cloth to gently wipe the thermostat’s exterior. Avoid abrasive cleaners‚ solvents‚ or excessive moisture‚ as these can damage the sensitive electronic components. For stubborn dirt‚ lightly dampen the cloth with water‚ ensuring it’s wrung out thoroughly.
Pay particular attention to the display screen and surrounding areas‚ removing any dust or fingerprints. Do not attempt to disassemble the thermostat for cleaning‚ as this could void the warranty and potentially cause damage. A small brush can be used to carefully remove dust from vents or openings.
Regularly cleaning your Temprite thermostat contributes to its reliable operation and accurate temperature readings‚ enhancing your comfort and energy efficiency.
Battery Replacement (If Applicable)
Certain Temprite thermostat models require battery backup to maintain settings during power outages. If your thermostat displays a low battery indicator‚ or loses settings upon power loss‚ replacement is necessary.
First‚ locate the battery compartment‚ typically found on the back or side of the thermostat. Gently open the compartment and note the battery type required – usually AA or AAA. Remove the old batteries‚ observing the correct polarity (+ and -) markings.
Insert new batteries of the same type‚ ensuring proper alignment. Close the battery compartment securely. The thermostat should now restore its settings and display a normal operating status. Dispose of used batteries responsibly‚ following local regulations.
Regular battery checks‚ especially during winter months‚ will ensure uninterrupted operation of your Temprite thermostat.
Regular System Checks
To ensure optimal performance and longevity of your heating and cooling system‚ alongside your Temprite thermostat‚ implement routine system checks. Annually‚ inspect air filters and replace them as needed – dirty filters restrict airflow‚ reducing efficiency.
Visually examine ductwork for leaks or damage‚ sealing any found issues with appropriate duct tape. Check vents for obstructions‚ ensuring unrestricted airflow throughout your home.

Inspect outdoor units (heat pumps or air conditioners) for debris accumulation‚ clearing away leaves‚ branches‚ and other obstructions. Schedule professional HVAC maintenance to inspect refrigerant levels‚ electrical connections‚ and overall system health.
Consistent system checks‚ combined with proper thermostat operation‚ contribute to energy savings and a comfortable indoor environment.

Safety Information
Always disconnect power before wiring. Improper installation poses electrical hazards. Consult a qualified technician if unsure about any procedure for safe operation.
Electrical Safety Precautions
Prior to any installation or maintenance work‚ always disconnect the power supply at the circuit breaker or fuse box. Failure to do so creates a significant risk of electrical shock or damage to the thermostat and connected HVAC system.
Never work with wet hands or in damp environments. Ensure all wiring connections are secure and conform to local electrical codes. If you are unfamiliar with electrical wiring‚ consult a qualified and licensed electrician.
Do not attempt to disassemble or repair the thermostat beyond the scope of this manual. Internal components contain potentially hazardous voltages. Use insulated tools and wear appropriate personal protective equipment. Improper handling can lead to serious injury or equipment malfunction.
Verify the voltage of your HVAC system matches the thermostat’s specifications before connecting any wires. Incorrect voltage can cause irreparable damage.
Warranty Information
Temprite thermostats are warranted against defects in materials and workmanship for a period of one (1) year from the date of original purchase. This warranty covers repair or replacement of the defective thermostat‚ at Temprite’s discretion.
To claim warranty service‚ the thermostat must be returned to Temprite‚ along with proof of purchase (receipt or invoice). The warranty is void if the thermostat has been subjected to misuse‚ abuse‚ neglect‚ accident‚ or unauthorized modification.
This warranty does not cover labor costs associated with installation or removal of the thermostat‚ nor does it cover damage to other components of the HVAC system.
For complete warranty details and instructions on how to initiate a claim‚ please visit our website or contact Temprite customer support.
Contacting Temprite Support
For assistance with your Temprite thermostat‚ our dedicated support team is available to provide expert guidance and resolve any issues you may encounter. We offer multiple channels for contacting us‚ ensuring convenient access to support.
You can reach us by phone at 1-800-TEMPRITE (1-800-836-7748) during our business hours‚ Monday through Friday‚ 8:00 AM to 5:00 PM Eastern Time. Alternatively‚ you can email us at support@temprite.com‚ and we will respond to your inquiry within 24-48 hours.
Visit our comprehensive online support portal at www.temprite.com/support for FAQs‚ troubleshooting guides‚ and downloadable resources. Live chat support is also available on our website during business hours.
Please have your thermostat model number and date of purchase readily available when contacting support to expedite the assistance process.